The little things that make me happy here on Bliss Road~~Emily Keaton

Saturday, October 30, 2010

A Birthday Wish

My 11YO DD had a very light homework load this weekend (yippee!), so we had some time to stamp together this afternoon while they guys were out doing guy stuff!! What a lot of fun!! So here is my second card for the day:
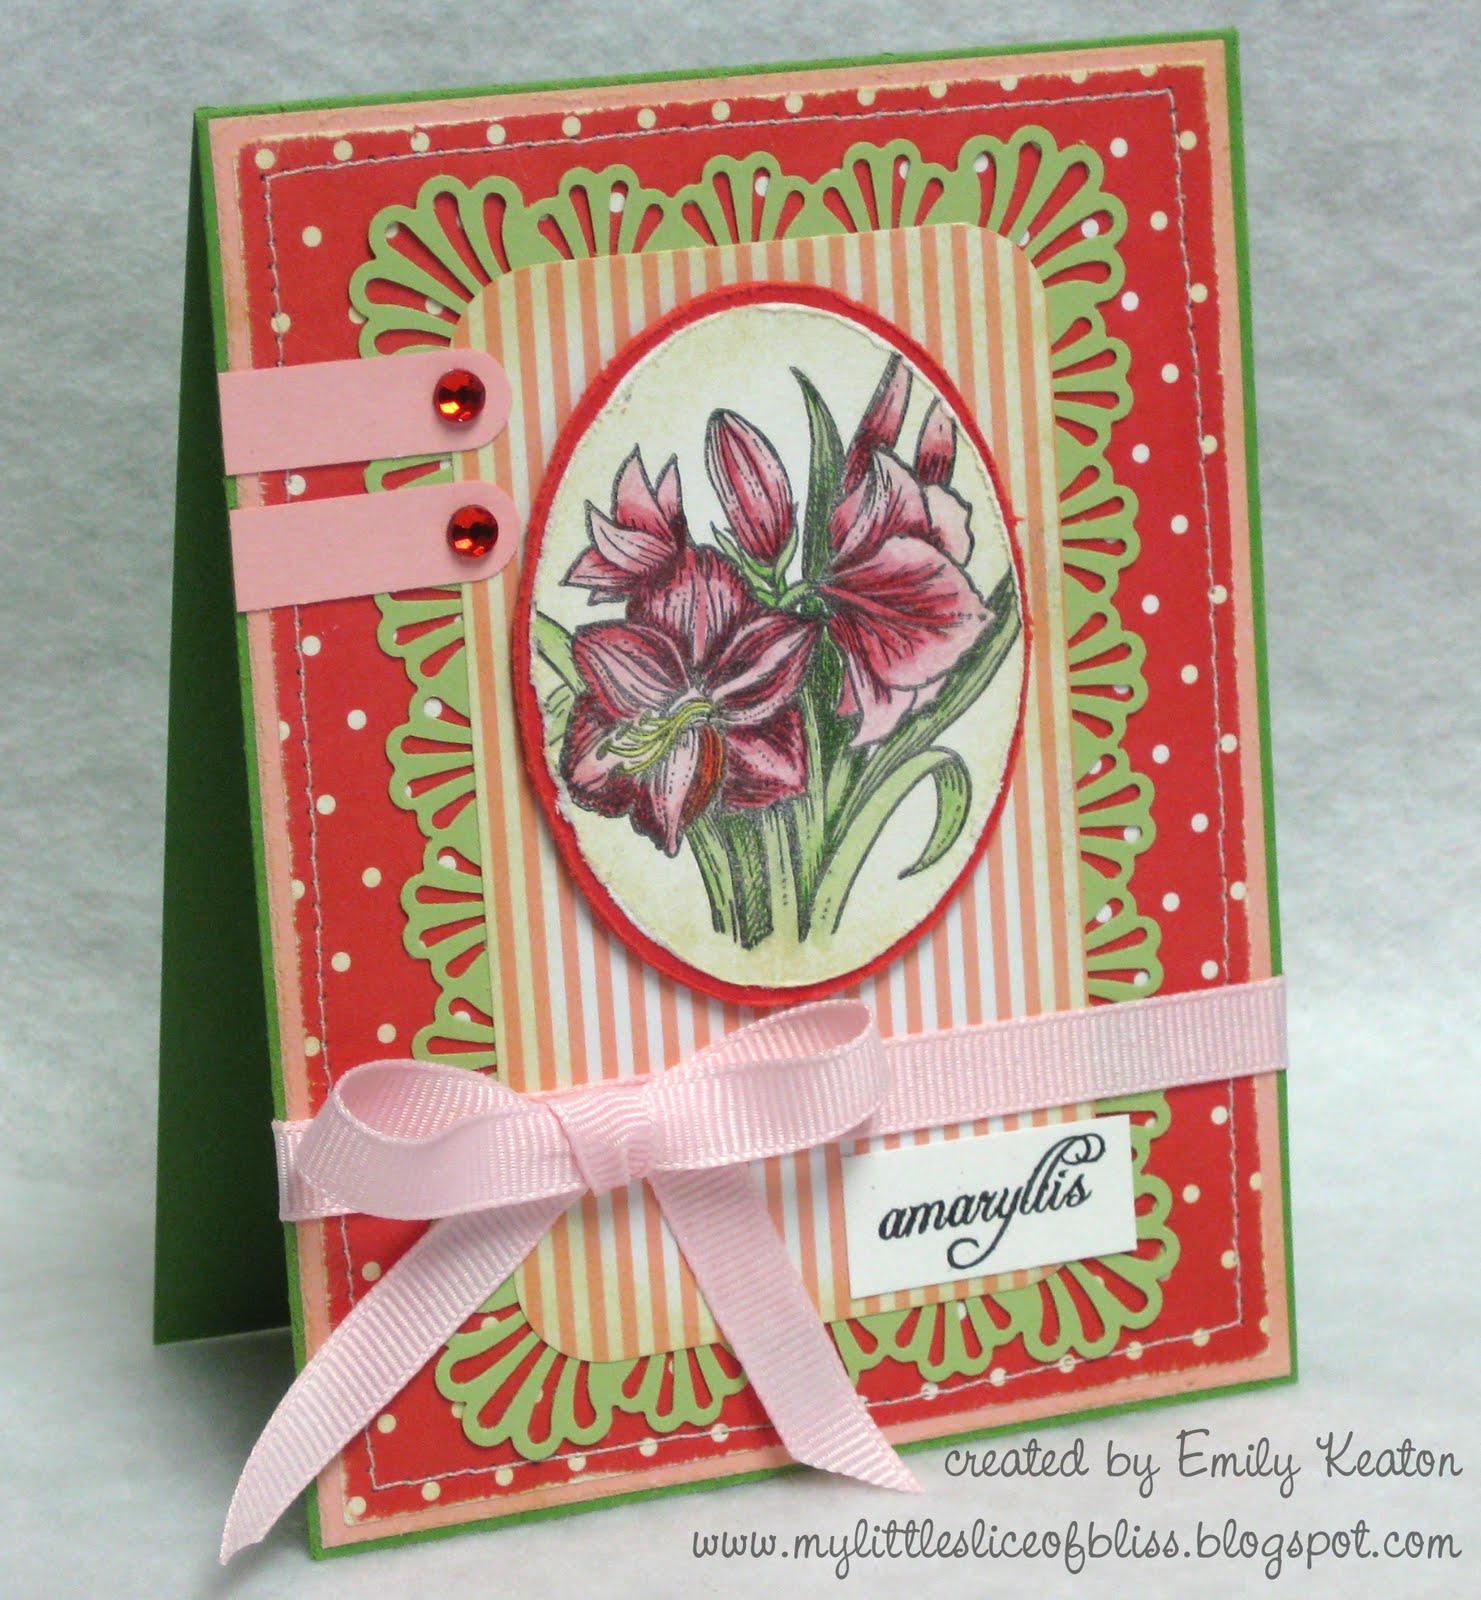
I just love making these pennant banners--so fun! I used letters from various {ippity} sentiments to piece together this birthday "wish." This card is going to my best friend, whose birthday is just around the corner in November. I think she'll get a kick out of all the punched loops. :)

I made this card primarily for an {ippity} challenge on Splitcoast, to make a birthday card using {ippity} stamps, IHHC47. But I incorporated a number of other challenges as well:
Both of my kids had a lot of fun making cards with me over the summer, but once school started up again in September, there just hasn't been much time for them to join me with homework, school projects, and other activities taking priority again. So my daughter was thrilled to find a little bit of time for creating again. She was able to fit in three cards, and she did a fabulous job with all of them. If you are interested, you can take a peek at them here:
Well, tomorrow is the big day--Halloween!! My kids are all excited to go out trick-or-treating. Luckily, it looks like the weather will cooperate. Hurray! We're looking forward to a fun time. I hope that you do, too! Thanks for stopping by :)

Card Recipe:
Stamps: {ippity} sets: Now & Always, Moon Beams & Heart Strings, Faith Blooms
Paper: SU pumpkin pie, certainly celery, rich razzleberry, + green from the Paper Company
Ink: Marvy LePlume II black marker, Versamark
Accessories: MS loops edge punch, CM circle cutting system, white embossing powder, heat tool, hemp cord, eyelets, Crop-A-Dile, dimensionals, gems
Techniques: embossing

Inspired Butterflies

Today's card is a SNEAK PEEK of a new clear stamp set, called Brick Wall, from Mark's Finest Papers that will be released early in November.
My inspiration for this card came from today's SCS Inspiration Challenge, which was to be inspired by the beautiful jewelry of Destiny's Creations. I was inspired by this pretty copper butterfly necklace.
It's a little difficult to tell in the photo, but there is a lovely vine image clear embossed on the copper panel and on the card base. I'm hoping that this close-up photo shows it a little better.
Other challenges incorporated into this card:
This card will go to another one of our nieces who celebrates her 18th birthday in a few weeks. I still have a few more November birthdays/anniversaries to get cards ready for!! Hopefully this week will be less hectic than last and I'll be able to cross some projects off my list.

Thanks for stopping by to share my little slice of bliss for today!!

Card Recipe:
Stamps: Mark's Finest Papers Brick Wall (sneak peek)
Paper: MFP natural CS, MFP copper kettle sparkle finish CS, red/blue CS from The Paper Company
Ink: Marvy LePlume II black marker, Versamark
Accessories: EK 1.5" circle punch, CM corner rounder punch, clear EP, dimensionals, satin ribbon, Bow-Easy
Techniques: clear embossing

Thursday, October 28, 2010

Stampin' B's Thanksgiving Pumpkin Challenge

Happy Thursday and welcome to another challenge from the Stampin' B's DT. This week Brenda is our hostess, and she has challenged us to make a Thanksgiving card using pumpkin images. Here's what I came up with.
The image is a free digi from Paper Garden Projects. I colored it with Prismacolor pencils, odorless mineral spirits, and paper blending stumps. I've been collecting a few digital stamp images recently, meaning to try the Gamsol Magic coloring technique with them (I've been a bit worried about the odorless mineral spirits making the inkjet printer ink run and bleed), so this was my big experiment. And I was pleasantly surprised by how well it all turned out!

These are the challenges I incorporated into the making of this card:
I hope you've been inspired to play along with the Stampin' B's!! If you do make a card, post it on your blog or SCS gallery, and link it up to the Inlinkz tool on the Stampin' B's blog. We'd love to see what you create!! :)

Card Recipe:
Stamps: Fall Still Life digital stamp from Paper Garden Projects, tree from Mark's Finest Papers A Walk in the Woods, unknown vintage postcard rubber stamp
Paper: Mark's Finest Papers late afternoon sun CS, DCWV textured rust CS, Basic Grey Mellow collection DP
Ink: Palette noir black, burnt umber, haystack
Accessories: sponge, Prismacolor pencils, OMS, paper blending stumps, paper distressing tool, emery board (for sanding), sewing machine, vintage lace trim, vintage buttons, brad, foam tape, brass leaf charm from Mark's Finest Papers
Techniques: machine stitching, sponging, Gamsol Magic

Monday, October 25, 2010

Chickie Thanksgiving

I won this adorable Plymouth Chicks rubber cling stamp by Stampendous in a Limelight Papercrafts challenge a few months ago and have been dying to ink it up now that it's time to make Thanksgiving cards! And I have been wanting these Martha Stewart Loops corner and edge punches ever since I first saw them. I think this punch-around-the-page pair makes the cutest and most whimsical frames. Anyway, I was finally order them for my very own recently when I won a $25 gift certificate to Two Peas in a Bucket from the ColourQ #52 challenge. Today was the first time I was able to use them, and I have to say I love 'em!! I know this punch set will get a ton of use. :)

Here are the challenges I incorporated into this card:
  • today's CAS challenge on SCS: CAS90, gingham and/or checks. I used a yellow gingham DP and green gingham ribbon.
  • Waltzingmouse Sketch Challenge: WMSC20
  • Simon Says: Give Thanks
  • Paper Players: #21, a recipe challenge to use one DP (my yellow gingham behind the chickie image), something that has been punched (the pumpkin pie loops frame), and a sentiment ("Happy Thanksgiving" of course!)
Thanks for dropping by today! :)

Card Recipe:
Stamps: Stampendous Plymouth Chicks, Mark's Finest Papers Thankful for You (sentiment)
Paper: MFP natural CS, SU pumpkin pie CS, DCWV gingham DP, The Paper Company CS
Ink: Palette noir black, Palette burnt umber
Accessories: MS Loops PATP punches, CM corner rounder punch, Prismacolor pencils, paper blending stumps, odorless mineral spirits, foam tape, hemp cord, gingham ribbon
Techniques: Gamsol Magic

Saturday, October 23, 2010

Another Flap Card

OK, I am officially hooked on making these flap cards!! Here's another quick one to share with you.
I incorporated these challenges:
My little slice of bliss today? While DH and DS were away today on a Cub Scout outing (they went to tour a radio station~~WBUR, Boston's NPR News Station), DD and I went to do some produce shopping at a new little produce store in our town called The Purple Plum. It is so quaint!! We picked up some tomatoes and lettuce for tonight's tacos for supper, plus some cantaloupe for breakfasts and red peppers for DD's school lunches next week. Then the two of us went out for lunch!! We capped with off with some card-making this afternoon for a fun day of togetherness. :)

Thanks for stopping by!

Card Recipe:
Stamps: Flourishes Peaches and Cherries
Paper: SU DP scraps, SU pretty in pink CS, SU pumpkin pike CS, SU regal rose CS, SU summer sun CS
Ink: Versamark
Accessories: SU punches: large oval, scallop oval, wide oval; CM oval cutting system, MS chrysanthemum punch, brads, photo turn, sewing machine, scoring tool, rhinestones, Stampin' Pastels, sponge applicator, hairspray
Techniques: Poppin' Pastels, machine stitching

A Flock of Flap Cards

Happy Saturday to all of you!! Yesterday's Free for All challenge on Splitcoast Stampers was to make a card that incorporates a flap in some way. I've never made a card with a flap before, so I cruised the SCS tutorials and found instructions for making an awesome flap card. I couldn't believe how easy these are! I was inspired to make a whole flock of these fun flap cards. I am hosting the SCS Gallery Comment Contest again this month and in just a little over a week will be sending out prize packages to the winners. I will need enclosure cards to send with the prizes and discovered that these will be perfect for that. And I won't even need envelopes for them since I've found ways to secure the flaps!!

Green Sparrow Flap Card
The SCS tutorial suggested using magnetic snaps as the closure for a flap card. Having nothing like this, I devised a little string clasp closure using baker's twine instead. I watercolored this adorable bird image from a Mark's Finest Papers stamp set called Speedy the Cat's Friends. I'm entering this in the Caardvarks challenge to create a new stamped card that is decorated inside and out! I paid special attention ;) to the inside of this flap card. The color combo comes from this week's Off the Wall Craftiness challenge.

Tangerine Kite Flap Card
This flying-high flap card takes its colors from one of the two current ColourQ #55 palettes and its layout from the current Repeat Impressions' What If Wednesday sketch. That cute little kite image is from Repeat Impressions. I decided to use a photo turn as my flap closure for this card.


Pink and Black Fleur de Lis Flap Card
This girly pink and black card takes its colors from the second of the two ColourQ #55 palettes. I used another little photo turn for securing the flap on this. That sweet fleur de lis image comes from the Mark's Finest Papers Regal & Proud set. This is the first time I've used this fleur de lis but it won't be the last. I love it!! I can't believe how detailed it is.

After all this crafting fun yesterday, I was ready to cap off the day with some autumn fun. After school, the kids and I visited a local orchard as a treat. Once DD and DS had each chosen a small Halloween pumpkin, we picked up a half dozen apple cider donuts and a gallon jug of orchard-made apple cider. It was quite chilly, so we couldn't have our snack at the picnic tables near the orchard (without freezing off our fingers!), so we sat in the car to munch our donuts with swigs of fresh apple cider. The kids saved the rest of the donuts (plus one for Dad!) for breakfast this morning. Fun!

The October Gallery Comment Contest is still going strong--right up until 11:59 p.m. on October 31. Anyone is welcome to join in at any time!! I'd love for you to play along. You can find all of the details right HERE.

Thanks for stopping by to check out my little slice of bliss for today!! I love to see you here. :)

Card Details:
Green Sparrow Flap Card
Stamps: MFP Speedy the Cat's Friends, MFP Tweet Blessings (sentiment)
Paper: Mark's Finest Papers spring leaft CS, SU chocolate chip CS, SU DP, Canson watercolor paper
Ink: Palette burnt umber
Accessories: SU scallop circle punch, EK 1.5" circle punch, SU scallop trim border punch, SU scallop border punch, CM petal multi-maker, watercolor brush, brad, button baker's twine, rhinestones
Techniques: watercolor painting


Tangerine Kite Flap Card
Stamps: Repeat Impressions
Paper: SU DP, SU basic black, assorted CS from The Paper Company
Ink: Palette noir black
Accessories: SU scallop circle punch, EK 1.5" circle punch, SU scallop border punch, brad, photo turn, fibers, scissors
Techniques: paper piecing


Pink Fleur de Lis Card
Stamps: Mark's Finest Papers Regal & Proud
Paper: SU regal rose, Su pretty in pink, SU basic black, SU whisper white, Miss Elizabeth's DP
Ink: Palette noir black
Accessories: SU scallop circle punch, EK 1.5" circle punch, EK 1.25" circle punch, SU 1" circle punch, EK chain of hearts punch, CM corner rounder punch, brad, photo turn, pink grograin ribbon, Bow-Easy

Friday, October 22, 2010

Autumn Snowman

So, I have an SCS friend whose birthday is coming up at the beginning of November. I know she loves snowmen so I wanted to make her a snowman birthday card. But because her birthday is smackdab in the middle of autumn, I couldn't bring myself to make a card that is too winter-y (or worse, Christmas-y). The new Color Throwdown colors for this week are dusty durango, perfect plum, and so saffron, so I thought I'd give them a whirl for a snowman card. Here is the result of my big experiment! It's certainly not something you see everyday.
Having no actual dusty durango or perfect plum, I had to substitute colors, but I think these are reasonably close. I stamped the snowman in burnt umber and colored him using a blender pen with Stampin' Pastels and SU inks. The sky and snow are sponged in with some strategic masking. My original thought was to stamp two snow people (and make one a woman) and have them hold a little birthday banner strung between them, but the sketch didn't really allow for two. So that's when I thought of making a little message flag instead. I'm sure you can see that my flag pole is a colored party toothpick!

I just received my very first Smooch (Gold Lame) from Mark's Finest Papers. I wasn't sure how best to use it, so I tried it out for the first time by "gilding" the edges of some of my shapes. I still have to get used to applying it evenly (try really hard not to look at the gloppy boo-boo at the bottom of the oval--HEY, I said don't look!), but I like the overall result. Next time it should go more smoothly. Fingers crossed! Then I need to look into other Smooch applications.

Here are the challenges that went into the making of this card:
Well, thanks for stopping by to check out my little slice of bliss!! Have a super weekend. :)

Card Recipe:
Stamps: Mark's Finest Papers Snowman Country, Mark's Finest Papers Owl Be Here (flourish), SU Lots of Thoughts (sentiment)
Paper: SU so saffron CS, SU tangerine tango CS, DCWV textured CS, MFP natural CS, DCWV Indian Summer Stack DP
Ink: Palette burnt umber & violette, SU so saffron, Versamark
Accessories: CM oval cutting system, sponge, Gold Lame Smooch (from Mark's Finest Papers), Stampin' Pastels, blender pen, dimensionals, toothpick, American Crafts felt flowers, brads
Techniques: sponging

Thursday, October 21, 2010

Birthday Blossoms

I have been so busy making cards for upcoming holidays the next few months, that I completely forgot that I have birthdays and anniversaries to get ready for, too!! So I checked my calendar this morning and made a list of five birthdays/anniversaries that require cards in the next month. My goal for today was to make a birthday card for my sister-in-law's birthday next month.

When I saw that the Splitcoast Ways to Use It challenge today was Fabric, I knew I *had* to play today!! I just love fabric. I have an extensive fabric collection (along with a large stash of buttons) and I love using it on cards. One of the easiest ways to use it is my favorite: stitching on swatches in place of DP. Here's what I came up with:
The colors, so perfect for a feminine birthday card, were inspired by the new Play Date Cafe challenge. I searched through my fabrics until I found this great swirly "pink lemonade" fabric, a favorite design left from my Sew Sweet Bags days of sewing fabric totes and handbags.

The card was super easy (and quick) to put together, partly because I already had a 5" x 5" card ready and waiting with this so saffron designer paper already attached. The no-coloring-required stamped image, from Papertrey Ink's Blooming Button Bits, was super quick. All I had to do was find my favorite buttons and glue them on!! After stitching down the fabric, I frayed all the edges, attached a bow and sentiment, and I was done. Yay!

Challenges:
Thanks so much for visiting me today :) !!

Card Recipe:
Stamps: Papertrey Ink Blooming Button Bits
Paper: SU whisper white, SU so saffron DP, MFP sparkle finish pink CS, The Paper Company peach CS
Ink: Palette noir black, Palette water lily green
Accessories: SU modern label punch, CM corner roudner punch, sewing machine, Bow-Easy, satin ribbon, foam tape, buttons from my stash, cotton decorator fabric
Techniques: fabric, machine stitching

Stampin' B's Halloween Challenge

It's Thursday--time for another challenge from the Stampin' B's Design Team!! This week Vicky G. is challenging us to make a Halloween card, but this is a Halloween card with a twist--NO BLACK or ORANGE!! Here's what I came up with. (And just for the record, that mat under the top purple layer is GOLD, kind of a goldenrod sort-of-color, not orange. In real life, it's clearly not orange, but something got lost in the translation in the photo. Sorry!)

I've got to say, though, that this was harder than I thought it would be!! At first, I was thinking, "No problem! I'll just use green and purple. Perfect!" But I found that I kept wanting to reach for some kind of black--black ink for my stamped images, black thread for my stitching, . . . you know how it goes. I even got tripped up when I was adding my brads. After peeking at my Halloween brads, and purposely avoided the candy corn one ('cause it's got orange, don't ya know!!), I spotted the perfect brad to go with this card's theme--a fun spider!! I added it between two purple brads and called it a day. Later, I was showing my family what I came up with for this challenge, explaining that it was to make a Halloween card with no black or orange. My astute 7YO DS immediately piped up, saying, "But, Mom!! What about that black spider brad? You can't use that!!" Ugh!! He was SO right. I didn't even catch it!! Good thing I showed my family or my card would be in total violation right now LOL! :) My quick fix was to swap out the cute {black} spider for a metallic green brad.

This is not my favorite card. I had some great ideas for putting it together, but once all of the different elements were ready and I assembled them, it was kind of a let down. It doesn't have the impact I thought it would. Maybe because it has a less than strong focal point? I'm not sure. But when I was showing it to my family, my dear hubby warmed my heart when he told me he thought I'd been very clever--the vertical panels reminded him of striped wallpaper like you'd find in a creepy old Victorian {haunted} house. Just what I needed to hear! Got to love a man who can serve up a slice of happy :)

Challenges:
I hope you've been inspired to play along with the Stampin' B's!! If you do make a card, post it on your blog or SCS gallery, and link it up to the Inlinkz tool on the Stampin' B's blog. We'd love to see what you create!! :) And now I'm off to see what my fellow Bs made for this intriguing challenge. Can't wait to see everyone's creative approach . . .

Card Recipe:
Stamps: The Angel Company (spider background--retired), SU Party Punch, Studio G (spider and web)
Paper: card stock scraps--all from The Paper Company, I think
Ink: Palette belle rose, chartreuse, violette, lavender sachet + ColorBox frost white
Accessories: SU round tab punch, white EP, heat tool, foam tape, sewing machine, brads
Techniques: machine stitching, embossing, backkground stamping

Tuesday, October 19, 2010

Vintage Birthday Bear

Welcome! I hope that you are having a great Tuesday. Today I'm sharing a card that I had so much fun dressing up in vintage style. Have a peek:
This birthday card is going to a teddy-bear-loving SCS/blogging friend of mine. I only have about three teddy bear rubber stamps, and this is the largest of the three (the others are rather tiny). This one is a retired stamp from The Angel Company. I've had it in my collection from almost the very beginning of my rubber stamping days, but I think that today is the first time it has seen ink!! How tragic :( . I guess I never realized just how adorable this little sweetie is. Anyway, she was the perfect image for a vintage look. I colored her with Prismacolor pencils and odorless mineral spirits. Then I sponged the edges with some Palette haystack ink for a more aged look.

The purple panel behind her was created by rolling my SU Cornelli Lace jumbo wheel (inked with Versamark) across it. I was planning to just let the ink dry for a watermark look, but at the last second I decided to add some clear embossing powder and heat embossed it. I love how that highlighted the delicate pattern, as well as giving some depth!!

The crocheted lace is some vintage trim that came from my grandmother's sewing basket. It was a much brighter white, so I sponged it with some more Palette haystack ink to "age" it a bit more. The buttons are vintage brass ones from my stash. The sheer ribbon rose is a pre-made embellishment from Offray, and the satin ribbon rose came from a box of Nicole brand "vintage" scrapbook embellishments I bought at an A.C. Moore sidewalk sale ages ago.

I incorporated these challenges into the making of this card:
It was cool here today, but the sun was shining and the air was mostly still, so it was really nice outside. My DD walked down to the elementary school with me to meet her brother after school and the kids got to play on the playground for a good 45 minutes before we walking home again. It was so good to be out in the fresh air!! And everyone got some good exercise. They are working on their homework now while I finish this post, then it will be time for supper. Pizza hoagies (using leftover pork roast from Sunday's supper)!! A family favorite, and so easy to fix. Gotta love that!! :)

Thanks for stopping by today!!

Card Recipe:
Stamps: The Angel Company (bear--retired), SU Think Happy Thoughts, SU Cornelli Lace (jumbo wheel)
Paper: SU old olive CS, various CS from the Paper Company, Basic Grey DP from the Boxer collection
Ink: SU old olive, Palette burnt umber, Versamark, Palette haystack (for ink distressing)
Accessories: SU scallop trim corner punch, EK 1.25" & 1.5" circle punches, Prismacolors, paper blending stumps, OMS, sponge, sewing machine, vintage lace trim, vintage brass buttons, Offray sheer rose, ribbon rose, clear EP, heat tool, foam tape, pearls
Techniques: Gamsol magic, machine stitching, embossing, vintage, sponging

Monday, October 18, 2010

Just the Ticket for Thinking of You

Happy Monday!! I have a quick "thinking of you" card to share with you this morning.
I made this with these challenges in mind:
More tree drama on Bliss Road this weekend. We had a humdinger of a Nor'easter last Thursday night into Friday. We ended up getting 3 inches of rain along with high winds. On Friday afternoon, not 20 minutes after DD walked home from school, we heard a horrendous crashing sound outside. Upon investigation we found that a huge pine tree just five feet on the other side of our property line (on town-owned forest land) had been twisted off by the wind about halfway up and fell, quite luckily, away from our house. We are quite thankful that we sustained no damage.

However, there is a paved path through the woods, running parallel to our property line, that leads between our town's middle school and high school. It is traveled by students before and after school and is our own route to both middle school for DD and elementary school for DS, as well as the route we take to walk to our town center. Anyway, this huge pine tree came crashing down smack-dab across the path, effectively blocking it. Again, quite thankfully, there were no students on the path at the time that it fell. But when it was time to meet DS after school, there was no option but to climb through the tree, so we bushwhacked our way amongst the limbs and pine boughs. I left a message for the town department of public works that a tree had fallen across the public path and would need to be cleared away. The sounds of chainsaws buzzing away in the woods next to our house this morning warmed my heart as I worked on this card, and I'm happy to report that all the pine tree wreckage has all been carted off. Our paths are clear again!!

Thanks for dropping by to peek at my little slice of bliss for this Monday!!


Card Recipe:
Stamps: {ippity} Now and Always (blossom and sentiment), Unity Total Cuteness (bracket element)
Paper: SU pumpkin pie CS, various CS from The Paper Company
Ink: Palette noir black, Palette violette, Palette belle rose, SU pumpkin pie
Accessories: scissors, CM scallop corner punch, Stamp-a-Majig, green gem, raffle tickets (from Dollar Tree), paper piercer, hemp cord, needle
Techniques: paper piecing, stitching

Sunday, October 17, 2010

Festive Amaryllis

OK, everybody, this is Amaryllis: Take Two!!

Earlier in the week I posted this monochromatic amaryllis card and explained that I was hoping to play in Flourishes' October Christmas Spirit Challenge, which is 1 stamp, 2 looks! Basically the idea is to take one Flourishes Christmas stamp and use it to design two different cards with completely different looks. Well, this amaryllis stamp I have from Flourishes Calendar Set 3 is the only Flourishes Christmas-y stamp I have, so this challenge really appealed to me!!Anyway, I finally got around to making my second card for this challenge and had a great time doing it. I colored the amaryllis image with Prismacolor pencils and odorless mineral spirits.

I'd love to hear what you think of this pair of cards. This was a really fun challenge--so glad I played along! :)

Challenges:
  • SCS color challenge CC292: to use pink pirouette, real red, and pear pizzazz. I had to substitute on all of these, but I think I got pretty close. I went with SU certainly celery, which is a bit lighter than pear pizzazz on the scalloped frame, and a shade darker (with MFP Spring Leaf) on the card base.
  • Flourishes Release Week challenge, FLLCOCT10, a sketch found HERE
  • Flourishes Timeless Tuesday Challenge, FTTC88, to use ink and edge distressing. If you look carefully, you can see one or the other or both on most all of my layers.
  • Flourishes' October Christmas Spirit Challenge, FLLCNOEL6, which is 1 stamp, 2 looks!
I hope you had a terrific week and are enjoying your weekend!! Thanks for dropping by to check out my little slice of bliss. :)

Card Recipe:
Stamps: Flourishes Calendar Set 3
Paper: SU certainly celery CS, MFP spring leaf CS, DCWV Mat Stacks DP, various CS from The Paper Company
Ink: Palette noir black, Palette haystack (sponged on for edge distressing)
Accessories: SU word window punch, MS deco fan border and corner punches, CM oval cutting system, sewing machine, sponge, paper distresser, Prismacolor pencils, OMS, paper blending stumps, foam tape, red rhinestones, pink grosgrain ribbon, Bow-Easy
Techniques: Gamsol Magic, machine stitching, distressing

Saturday, October 16, 2010

Guess Who is 12?

I suddenly realized one morning earlier this week that our niece turns 12 next week, and I didn't have a card ready!! It was time to get moving. I decided that this cute owl from Unity would be just the thing for that in-between age. It is part of a sweet set, called Total Cuteness, that I won as blog candy on one of the Unity DT members' blogs recently.

I incorporated these challenges into this card:
  • Splitcoast sketch challenge SC302,
  • Color Throwdown 114:
  • City Crafter Challenge: Week 26, Take Flight (anything with wings. I think my owl qualifies!)
  • Tuesday Throwdown: three elements (I used a row of three rhinestones.)
  • Papertake Weekly: 3 of a Kind (I used a row of three rhinestones.)
  • Simon Says: Easy No Cook Recipe Challenge--three types of embellishments (I used rhinestones, baker's twine, and buttons), two patterned papers, and one image.
  • Crafty Creations: Show a Number (that's easy--it's in my "Guess Who is 12?" sentiment!)
This was a fun card to make, especially with all of the stitching. I hope it comes across as funky cool, the kind of thing a 12-year-old would like!!

Thanks for dropping by. Happy Saturday!!

Card Recipe:
Stamps: Unity Total Cuteness (owl), Mark's Finest Papers Owl Be Here (sentiment)
Paper: SU chocolate chip CS, SU so saffron DP, DCWV Indian Summer Stack DP
Ink: Palette burnt umber, SU certainly celery
Accessories: SU large oval punch, SU scallop oval punch, MS topiary border punch, Prismacolor pencils, Gamsol, paper blending stumps, sewing maching, baker's twine, dimensionals, rhinestones, buttons from my stash
Techniques: Gamsol Magic, paper piecing, machine stitching

Monday, October 11, 2010

Monochromatic Amaryllis

A quick post to share this monochromatic Christmas card I made today.
This was for today's Splitcoast Clean and Simple Challenge, CAS88, to be inspired by the word "Crinkle." I was inspired to add a panel of crimped, or "crinkled," card stock.

I also made this for Flourishes' Timeless Tuesday Challenge, FTTC87, which was to use this sketch. I am also hoping to enter this card as one of a pair (to be completed later!) for Flourishes' October Christmas Spirit Challenge, which is 1 stamp, 2 looks! Basically the idea is to take one Flourishes Christmas stamp and use it to design two different cards with completely different looks. This amaryllis stamp I have from Flourishes Calendar Set 3 is the only Flourishes Christmas-y stamp I have, so this challenge really appealed to me!! I'm hoping to be back later in the week to complete the other half of this challenge. :) To be continued . . .

Today is Columbus Day, so our kids had the day off from school. I've been really busy this weekend getting projects ready for the Mark's Finest Papers October Blog Hop, which starts tomorrow. (There will be blog candy from MFP, so be sure to check back Tuesday through Friday this week!) Anyway, since I was wrapped up for most of the weekend, I let the kids pick a few favorite activities to do today as a treat. They requested Chuck E. Cheese and a trip to their favorite playground park. I don't mind taking them to CEC for the arcade games and play space a few times a year, as long as it isn't busy (as a rule, we never eat there, just play). So we decided to arrive right when they opened at 9 a.m. and we were delighted to have the entire place to ourselves for well over an hour!! The kids had received a gift of CEC tokens from their grandparents when we visited with them in August, so it didn't even cost us anything. They had a blast playing their favorite games and picking some prizes, and I got to be a hero for taking them. The tokens ran out just as other customers started to arrive, and we took that as our sign to leave. Sweet!

After mac & cheese for lunch here at home, we headed out to their favorite playground, Kid Spot, at a nearby town park. Aside from being a tiny bit cool (sweater weather!), it was a good day to play outside, and they played hard for an hour and a half while I sat on a bench reading a magazine that had been put aside all weekend while I worked. A wonderful break for all of us!!

Thanks for stopping by to check out my little slice of bliss for today!! See you again soon! :)

Card Recipe:
Stamps: Flourishes Calendar Set 3
Paper: Pink Paislee 365 Degrees DP , white & red card stock from The Paper Company
Ink: Versamark, Palette l'amore red
Accessories: SU scallop trim border, CM circle cutting system, SU modern label punch, paper crimper, dimensionals
Techniques: Poppin' Pastels

Friday, October 8, 2010

Faux Silk Poinsettia

Happy Friday, everyone!! I wanted to share a card that I made yesterday for the SCS Ways to Use It challenge, WT291, which was to use tissue paper. I chose to use the Faux Silk technique, which involves stamping on tissue paper. A great tutorial for it is found HERE on SCS. I first used this technique back in the spring and really loved how it turned out. I was so glad for the nudge this challenge gave me to use it again!! (And here's a closeup showing the texture of the faux silk a little better.)
This is my fourth SNEAK PEEK of the six new clear stamp sets that will released by Mark's Finest Papers next week. This set is called, appropriately enough, Seasonal Poinsettias. I'm looking forward to doing some watercolor painting with this set next week!

The color combo is for the new Play Date Cafe challenge (PDCC50) to use melon and green. I thought these would be perfect for a "pink poinsettia" card! I stamped the poinsettia in Versamark on tissue paper and used chalks to color it in. I figured that most other coloring methods would bleed on the tissue, and I love the soft look the chalks gave this image--the perfect look for my faux silk!

And I broke out my new lime green baker's twine for this card. I am SO glad I got some--I'm just loving this new twine!! It's going to be great for all of my holiday projects.

Challenges used:
Thanks for stopping by today!

Card Recipe:
Stamps: Mark's Finest Papers Seasonal Poinsettias
Paper: white tissue paper, Crate Paper Blue Hill Collection DP, The Paper Company CS
Ink: Versamark, Palette boudoir blush
Accessories: MS deco fan corner & border punches, CM corner rounder punch, sewing machine, Stampin' Pastels, Xyron, dimensionals, lime green baker's twine, adhesive pearls
Techniques: faux silk, Poppin' pastels, background stamping, machine stitching